5 Easy Steps to a Stylish Oval Paint Wall Design
What You'll Need:
- Your chosen paint colour
- Small paint roller (for a smaller oval)
- Paint tray
- Large sheet of paper (bigger than your desired oval)
- Masking tape
- Pencil
- Chalk
- Paintbrush
- Scissors
Step 1: Prep Your Wall (The Base Coat)
Before diving into the oval, ensure your wall has the perfect base colour. If a fresh coat is needed, now's the time! Unsure about which shade to choose? Once your base coat is dry, you're ready for the next step.
Step 2: Create Your Oval Template
On your large sheet of paper, lightly sketch your desired oval shape with a pencil. Then, carefully cut out the oval design to create your template.
Step 3: Position and Secure
Use small pieces of masking tape to lightly tack your paper oval onto the wall where you envision your design.
Step 4: Outline with Chalk
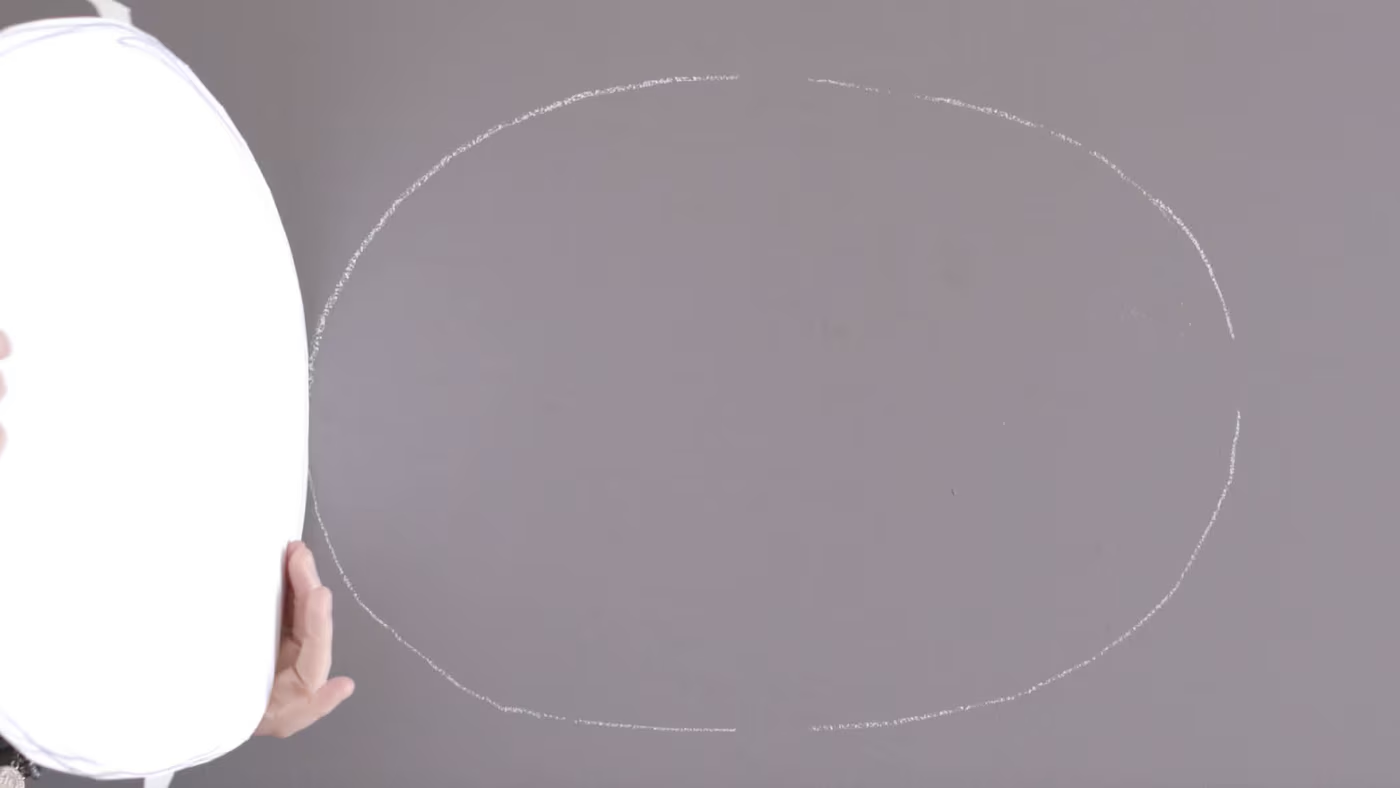
Trace the outline of the paper oval onto the wall using chalk. This creates a guide for painting and allows you to remove the paper template without losing your shape. Peel away the tape and paper.
Step 5: Paint Your Oval
Using your paintbrush, carefully apply paint along the inside edge of your chalked oval. This prevents the roller from bleeding outside the lines. Then, use your roller to fill in the rest of the oval. And voilà! Your stylish oval paint wall design is complete.
Color Inspiration?
Still deciding on the perfect colour for your oval? Experiment virtually with the Dulux Visualizer app


Comments
Post a Comment